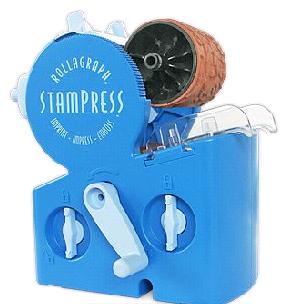
 Rollagraph StamPress: Create quick embellishments for your artist trading cards, greeting cards and polymer clay projects. Using interchangeable rubber stamp wheels and different inks, the StamPress machine can apply rubber stamp designs to ribbon, foils, paper strips and more. I never seem to get consistent ink coverage when I stamp and I worry about slippage, too. No more of that because this gadget does the work for you. StamPress comes with an instructional DVD that includes a 120 minute demo. For more info, go to clearsnap.com.
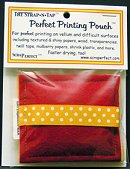 Perfect Printing Pouch: Vellum and other specialty papers always seem to slip in my inkjet printer and I’m rarely satisfied with the results. I've had friends suggest that I iron vellum to freezer paper and run it through the printer, but that always takes too much time. The Perfect Printing Pouch allows me to print on more than just paper -- try it for printing on vellum, textured paper, transparencies, and twill ribbon. It will help you avoid that awful smearing or bleeding and your paper will dry faster, too. For more info, go to scraperfect.com.
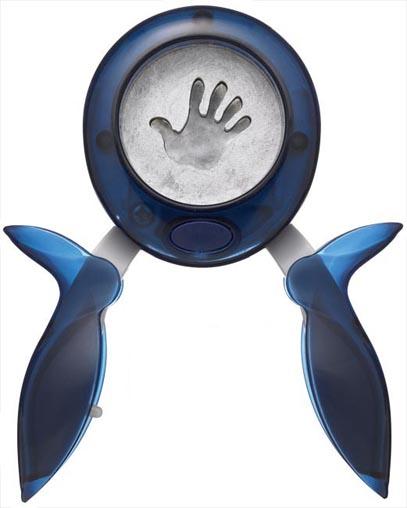 Fiskars Squeeze Punch: Whenever I use paper punches, I have to guess where my design will appear on the reverse side of decorative paper after I punch. Even worse, sometimes I don’t apply enough pressure so the hole ends up half-punched. Fiskar makes "reversed" punches – you see the punch mechanism while you’re working – and because you squeeze the punches, you can use them while you’re sitting down. Now I see where my punch hole is lined up and whether or not I’m using the punch correctly. Plus, I don’t have to stand up, lean on the table and apply brute force to get a perfect punch, either. For more info, go to fiskars.com.
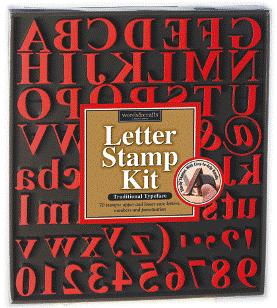 Words and Crafts Stamps: These sets of alphabet stamps have small individual handles, rather than bulky wood blocks. I hate those ghost shadows that appear from my rocking the stamp or from stamp rubber that's been trimmed poorly, so I was glad to find these. The stamps store away in a minimum amount of room and are better for positioning your stamp exactly where you’d like it on your project. No guessing! The sets come in several letter fonts: traditional, breezy, classic and smarty. For more info, go to wordsandcrafts.com.
Article Description: Here are more cool tools and innovative products that you night want to add to your crafts room wish list.


